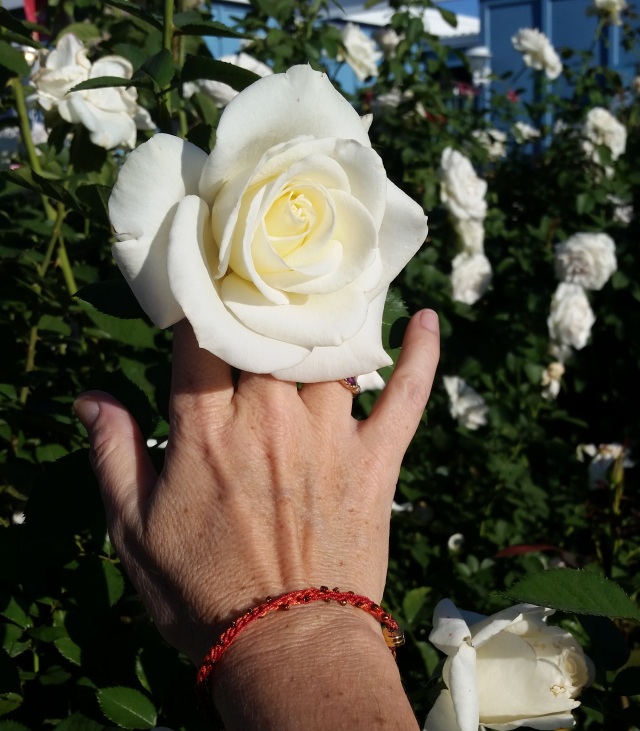
My friend Gina sent me a link about two years ago showing some crocheted bracelets with button closures – so cute! I figured out the pattern, found different sized buttons, crocheted about twenty bracelets in varying lengths (multi-wraps are fun!), used jewelry o-rings to attach charms midway and started handing them out to friends on my travels.
Oh, the charms – they fell off in legions – usually after a household chore like doing the dishes…or walking across a room. Sometimes even before I was done with the visit (In Kauai I actually asked for some pliers and replaced the gifted charm with one from my purse. It probably also fell off soon after I left. Mrgh!)
I have not mastered the fool-proof closure of o-rings (does this exist, beyond soldering?).
Alas, a design failure the internet did not prepare me for. Also, I’m not sure how much I want to talk about how hard it is to BUTTON your own wrap-around bracelet…
New rule: Jewelry should not be a reminder of loneliness, or dexterity challenges, or a cause of any stress whatsoever frankly (right?!). Wait ’til you see how I’ve solved this!!! (P.S. o-rings replaced by stitching…why didn’t I think of that…first?!)
Magical Magnet Closures
I attended a presentation today of the San Diego Bead Society and was inspired to think again about what kinds of trades I could make for my next art retreat. I put 2 + 2 + 2 together and came up with: crocheted bracelet with beads and magnetic closure.

A couple hours before this creation I spent time looking up patterns for beaded amulet pouches and such, thinking that would be my thing. Then I remembered what I already know how to do and how many supplies I already have on hand. And how time works.
So I made the above prototype, using waxed nylon bead string to attach the magnetic ends to the crocheted piece, and also to thread the beads throughout. For the crocheters, I used a 2.25mm needle on Lizbeth size 10 thread. So far I’ve mapped a small bracelet (I have skinny wrists) like this:
- Chain 60
- Work a slip stitch in the 2nd chain from hook, and in all the rest to the end
- Gauge: I worked these stitches fairly loose, to make way for the beads.
After that, I stitched the waxed bead string through a bead on one end and then worked a series of knots before attaching the magnet closure. Then I used the same waxed string to work my way back through the bracelet, attaching the beads on alternating sides.

I aimed for every other stitch back and forth and it didn’t seem to need too much precision to attain a good effect.
I tried a couple of beading patterns (e.g. all on one side vs. alternating) and decided that going back and forth on the chain gave the best dynamic effect on the wrist.


I used Dritz Fray Check on the end knots and wrapped the ends next to the magnetic closures with extra stitches. We’ll see how it holds up in the next few weeks.
The Front and the Back
So far it’s hanging nicely with beads on all sides and the magnetic catch falling to the bottom of my wrist. I’ll keep wearing it and see how it holds up throughout the week.
Favorite Discovery
Magnetic connectors do the work for you! And they come in really fun shapes – like fish and turtles. The ones I found were too wide to work with my current skinny crochet chains but I have plans for those magnetic turtle and fish connectors…just you wait…


